Beginner solo drills are a fantastic way to get your juniors started and help them learn the true basics of ball control. Remember the key part of this is to keep it FUN. Intersperse the skills with a fun movement activity and watch for your juniors needing to move onto something else.
Demonstrate the 3 solo drills below to the players. If these exercises are easy for a particular group, then move through to the next one quickly. We suggest spending approx. 5 minutes on each one.
Safety Note: Define areas by using cones, tape, chalk etc.
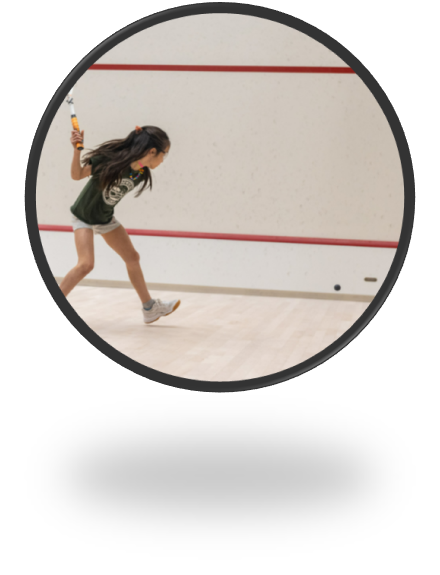
SOLO DRILLS:
- Bounce ball on racquet – F/H (progression can be changing from F/H to B/H, flipping over the racquet face).
- Hit ball against wall on the bounce – F/H & B/H 5 or 10 consecutive ‘shots’.
- Hit ball against wall on the bounce with alternating F/H & B/H5 or 10 consecutive ‘shots’.
- Hit ball against the wall with the volley (no bounce) – F/H & B/H 5 or 10consecutive volleys.
- Hit ball against the wall with the volley (no bounce) with alternating F/H & B/H 5 or 10consecutive ‘shots’.
- 10 alternating F/H & B/H corner hits – with bounce.
- 10 alternating F/H & B/H corner hits – with volley.
- Figure of 8 – with bounce (very advanced so do not suggest unless ready).
- Figure of 8 – with volley (very advanced so do not suggest unless ready).
MINI GAMES:
Quarter court/mini games: Mini rallies with an opponent. This can start as a cooperative rally to see how many balls can be hit consecutively together. Then switch it to rallies where juniors try to win.

KEY POINTS:
✓ Recording time and targets is a great way to track a player’s progress and skill development over the season.
✓ Solo practice is a fantastic exercise for all skill levels! Explain that even pro players solo practice (several times a week) to sharpen their skills.
Use our ‘Skills Pyramid for Young Juniors’ pack and set your juniors up with the skills they are going to master and hand out the appropriate certificates for their achievements.
KEY POINTS:
✓ Coach should use this time to observe and correct.
✓ Go to each player individually and show encouragement and reward.
✓ Change ball difficulty depending on player’s level.