School Start Squash – SETTING UP THE NET

  • Follow the pictures to set up the net.
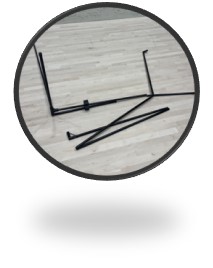
  • Lay the equipment out on the floor: You will need the net, poles and elastic ties.  
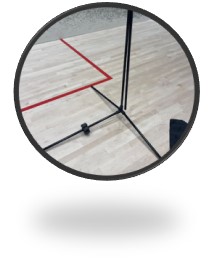
  • Connect the poles to make a standing structure without the top pole attached.
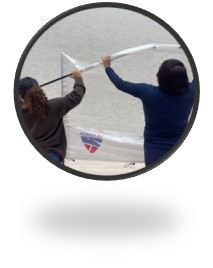
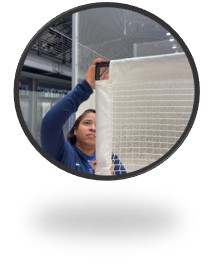
  • Slip the net over the stand. Connect the top pole and insert it into the top of the net.
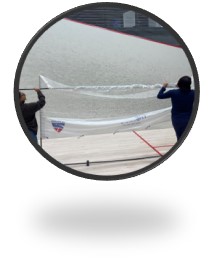
  • Connect the top corners of the poles so the structure is complete and pull the net down, so it is straight.
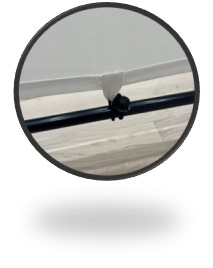
  • The net must be tightened so that the ball bounces off it correctly. Use the elastic black ties provided to secure the net to the stand at the bottom, pulling it tight.
  • Elastic ties can also be put on the net’s sides to increase tension.

More In This Lesson:

School Start Squash – INTRODUCTION & STARTING OUT

Squash originated from the ancient game of racquets, which...

School Start Squash – COURT SET UP OPTIONS

Squash is enjoyable whether played on a single wall,...

School Start Squash – ‘WALL’ COURT SET UP

When using a wall for your squash court, use...

School Start Squash – 3-NET COURT SET UP

Squash is enjoyable whether played on one wall, one...

School Start Squash – USE THE CORRECT BALL

It is critical to use the appropriate ball to...

School Start Squash – KEY COACHING POINTS

Prioritize safety before setting up equipment for each session....

Starting Out 4.4 – FEEDING THE BALL

COACH FEEDING OR FEEDING BETWEEN PLAYERS: A coach can feed...