Squash is enjoyable whether played on a single wall, one net, a standard squash court, or a three-net court.
There are three ‘squash court’ setups that can be used in school gyms, walls, halls, and outdoor areas. Try to make all of the courts the same size, regardless of the setup you use.
- The single net
- The wall
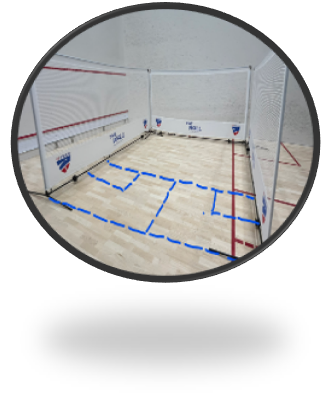
- The 3 net court setup
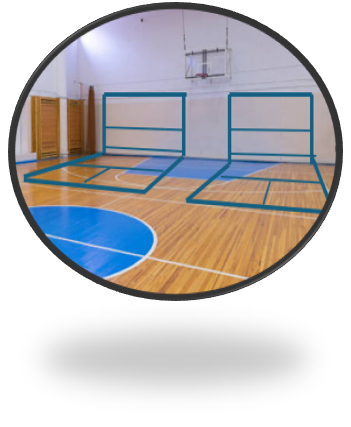

For a single net court, arrange the nets side-by-side in the center of the gym (see image above). This allows for active play on both sides (front and rear).
Taping the court area is useful but not required. If the squash session is held in the gym, the lines from the basketball courts can be used to form the court. We recommend using painter’s tape since it stays in place and does not leave a mark on the floor.
If tape is used, put it along the floor such that the court floor space is 12 feet deep and 12 feet wide.
If you can leave the tape on the floor, you can add service boxes and a T in the center of the ‘court’ to create the illusion of a squash court.